第一次烘芝士蛋糕
本来只想用6寸的模
但是前几天蒸了Holiday Inn Cake
分了一半给伯伯
连同蛋糕模一起拿给了他
所以只好用9寸的模
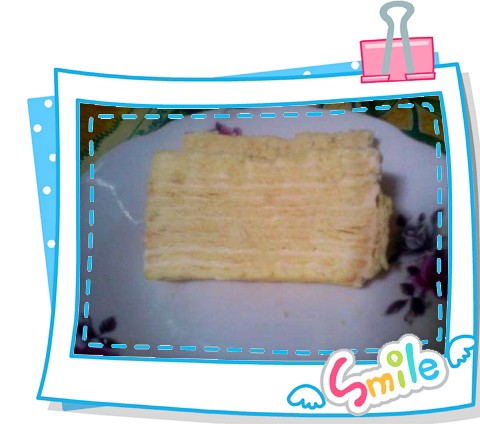
幸好出来的结果没让我失望
获得了大家一致的好评
材料 (9寸蛋糕一个)Ingredients (9'' Cheesecake)
蛋糕底 Crust
100g 芝士饼 Cheese Crackers
50g 无盐牛油 Unsalted Butter
蛋糕体 Filling
500g 忌廉芝士 Cream Cheese
4nos 鸡蛋 Eggs
100g 幼糖 Caster Sugar
120ml 动物性鲜奶油 Whipping Cream
1/4tbsp 香草精 Vanilla Essence
巧克力表层 Chocolate Ganache
70g 黑烹饪巧克力 Dark Cooking Chocolate
60ml 动物性鲜奶油 Whipping Cream
10g 无盐牛油 Unsalted Butter
做法 Method:
1. 将芝士饼干压碎,备用。
Crush cheese cracker, place aside.
2. 将无盐牛油隔水融化,备用。
Melt unsalted butter by double boiling, place aside.
3. 把芝士饼干碎末倒入已融化的无盐牛油, 用手抓匀。
Add crushed cheese cracker into melted butter, mix well.
4. 把抓匀的芝士饼干碎末倒进9寸的蛋糕模,均匀的铺在蛋糕模底部,用汤匙压平压紧。
Place it in a 9'' cake mold, flatten it using a spoon.
5. 把蛋糕模放入冰箱冷冻1个小时,再移到冷藏格去冷藏1个小时。
Put cake mold into refrigerator and freeze for 1 hour, then refrigerate for 1 hour.
6. 把忌廉芝士提前放到室温下软化。
Take out cream cheese in advance to soften it to room temperature.
7. 将忌廉芝士放进一个大碗。
Put cream cheese in a large bowl.
8. 取一锅,倒入热水,把装着忌廉芝士的大碗放进锅里,隔水加热至忌廉芝士彻底软化。
Get a pot, pour in hot water, soften cream cheese by double boiling.
9. 加入幼糖,打至顺滑状。
Add in caster sugar, beat until the cream cheese mixture are smooth.
10. 加入鸡蛋(每次一粒),拌匀。
Add in egg one by a time, stir evenly.
11. 把碗从热水里拿出来, 在芝士糊里倒入动物性鲜奶油和香草精,拌匀。
Take the large bowl out, pour whipping cream and vanilla essence into the cream cheese mixture, mix well.
12. 将芝士糊倒入步骤5的蛋糕模。
Pour the cream cheese mixture into the crust in step 5.
13. 放入预热烤箱,用水浴法(把蛋糕模放在烤盘里,在烤盘里注入清水)以160度烘烤约1个小时。
Put into pre-heat oven, bake using water bath method at 160 Celsius for 1 hour.
14. 将烤好的蛋糕取出,连同蛋糕模一起冷却到室温。
Take out the cheese cake and cool down to room temperature.
15. 在等待芝士蛋糕冷却的时候,可以制作巧克力表层。把黑烹饪巧克力和无盐牛油切小块,放入大碗里。
Ganache can be made while waiting for the cheese cake to cool down. Cut the dark cooking chocolate and unsalted butter into small cube, then put the ingredients into a large bowl.
16. 倒入动物性鲜奶油。
Pour in the whipping cream.
17. 隔水加热,不断搅拌至巧克力和牛油融化。
Heat until the dark cooking chocolate and unsalted butter are melt by double boiling.
18. 待巧克力混合液温热,倒在芝士蛋糕上。
Let the ganache cool slightly, then pour it over the top of cheese cake.
19. 静置一会儿,待巧克力混合液变得平整后,将蛋糕模放入冰箱,冷藏4个小时以上。
Place aside for awhile so until the ganache become smooth, then refrigerate the cheese cake for 4 hour or more before serve.